
A (practical) beginner’s guide to iOS development
Developing for iOS can be a rewarding -and sometimes lucrative- experience. After all, it is the world’s second most widely installed mobile operating system after Android, with an estimated 1.6 billion active devices (Apple, 2021).
So, what do you need to get started?
A Mac computer
Although it is possible to use an iPad if you want to learn Swift, one of the main languages used for iOS development, a Mac computer (laptop or desktop) is necessary in order to be able to create an actual app. You do not need the latest model to start developing so a second-hand machine should be fine – just make sure that it is supported by the latest macOS version.
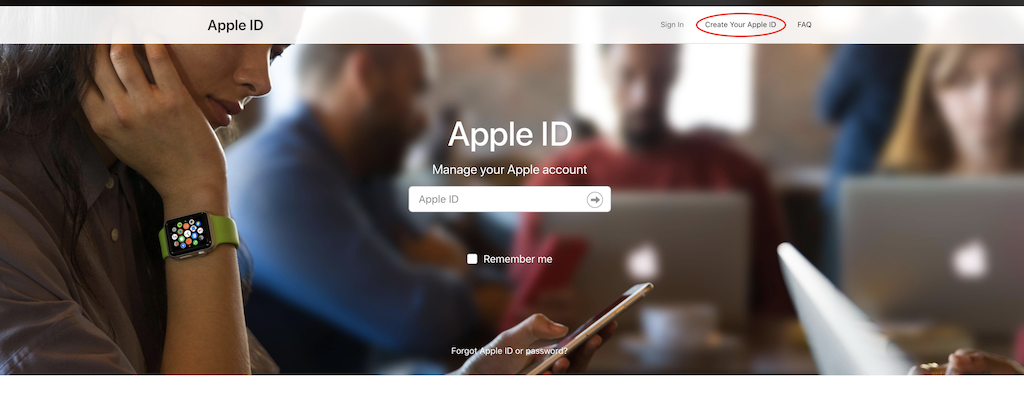
An Apple ID
You will need an Apple ID for a lot of stuff – download development tools, create a developer account etc. If you have an Apple device and use Apple services there is a good chance that you already have an Apple ID – you can find out via your computer’s Apple menu in System Preferences – Apple ID.
Otherwise you can create one for free.
Development tools
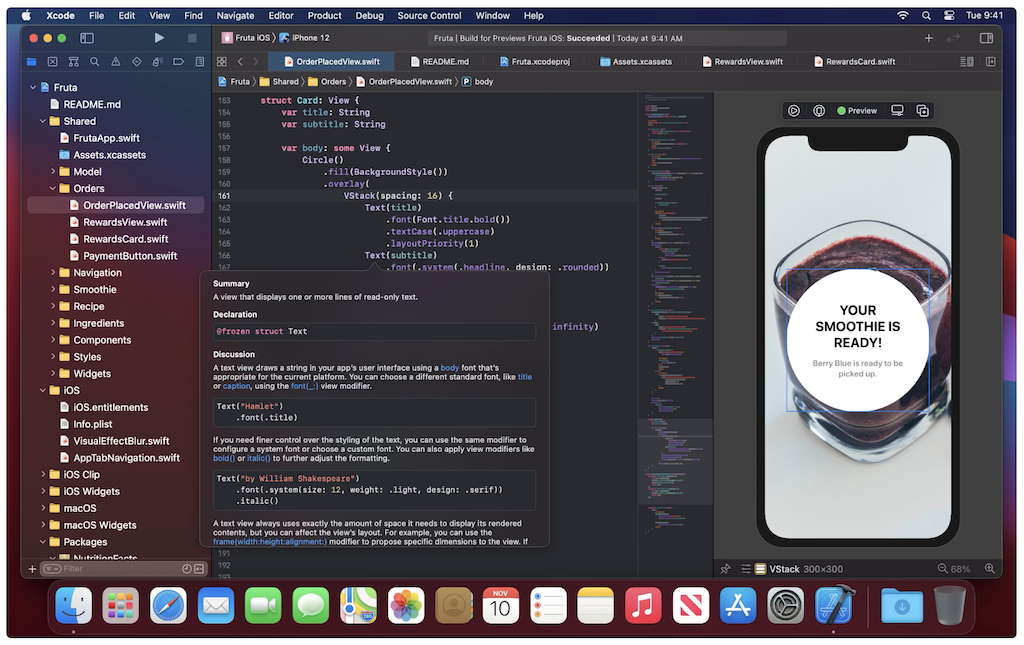
Xcode
Xcode is Apple’s IDE (Integrated Development Environment), in other words a collection of tools that work seamlessly together, making the development workflow faster and smoother (most of the times).
You can design, program, debug, test and submit an app to the App Store, all from inside Xcode. Note only that, but Xcode comes bundled with project templates, many for iOS apps, which means that you can open a template and start playing around straight away.
Xcode can be downloaded via the Mac App Store app.
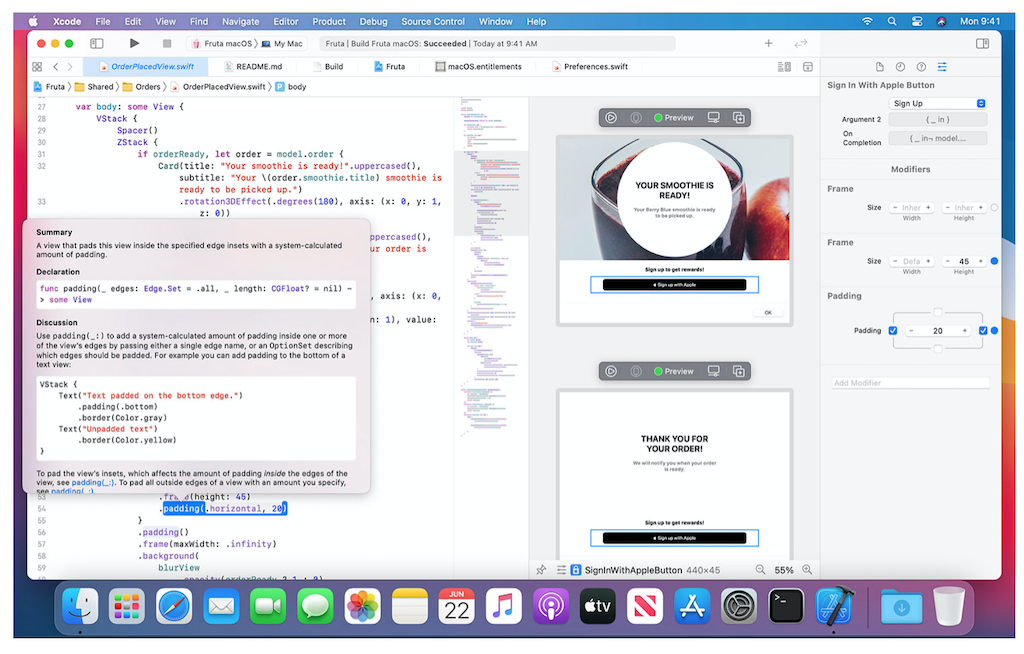
Swift/Swift UI
Swift is one of the two programming languages that Apple supports for iOS development. It has gone a long way since its initial release in 2014 and it has now become the default choice when developing a new app, usually preferred over its oldest sibling, Objective-C.
There are many resources including tutorials and sample apps that you can use to learn Swift and how it is used in iOS development, both from Apple as well as others.
Swift can be used with SwiftUI, a modern way to declare user interfaces for any Apple platform (Apple). This combination can help you to start developing simple apps with little experience.
Both Swift and SwiftUI are supported in Xcode by default.
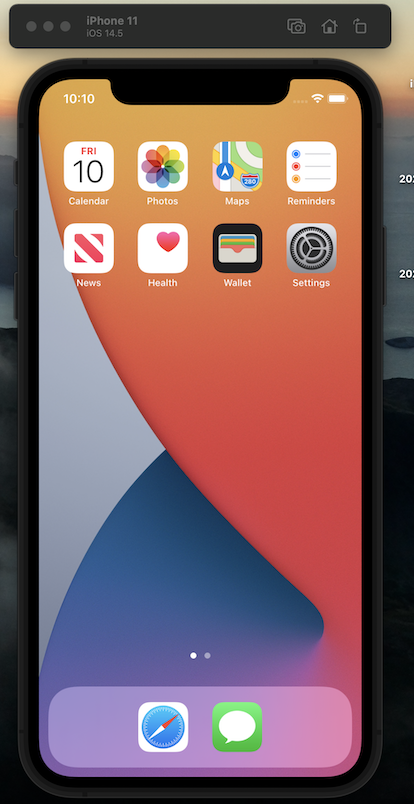
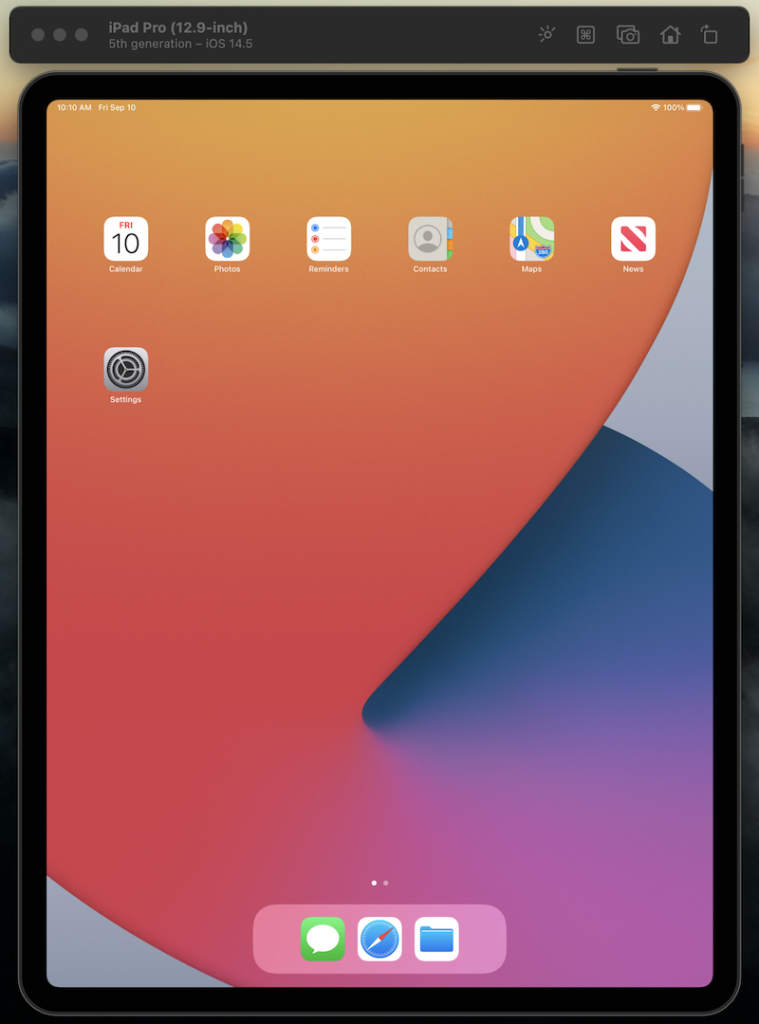
Simulator
Another great tool that is included in Xcode is the Simulator, a program that creates virtual iOS devices on your computer. In that way you can test your apps without the need of a physical device, although a device does offer some advantages as we will see later.
The Simulator offers a wide range of virtual devices including iPhones, iPads, Apple Watches etc. which makes it really useful if you want to see how your app looks and behaves on different environments.
An iOS device for testing (optional)
Although the Simulator is an excellent tool to use, it has some limitations, especially when it comes to hardware access. You cannot for example use a virtual device’s camera or Bluetooth and some of the more complicated gestures that are possible on an iOS device cannot really be performed on the Simulator.
In that case, it would make sense to get an iOS device to use for testing these extra features.
An Apple Developer Program paid membership (optional)
Joining Apple’s Developer Program is the only way to distribute your apps to the App Store (in other words to make them available to the public and earn money), plus it offers access to some advanced features (iCloud, Apple Pay) and tools (TestFlight).
It is not however required if you are just starting out, since there is a wealth of resources that you can already use for free.
Summary
The above was a non-exhaustive list of tools that will get you started with iOS development – I hope that you will find it useful.
Thanks for reading!